
How To Paint Your Interior Doors…The Easy Way (Part 2)
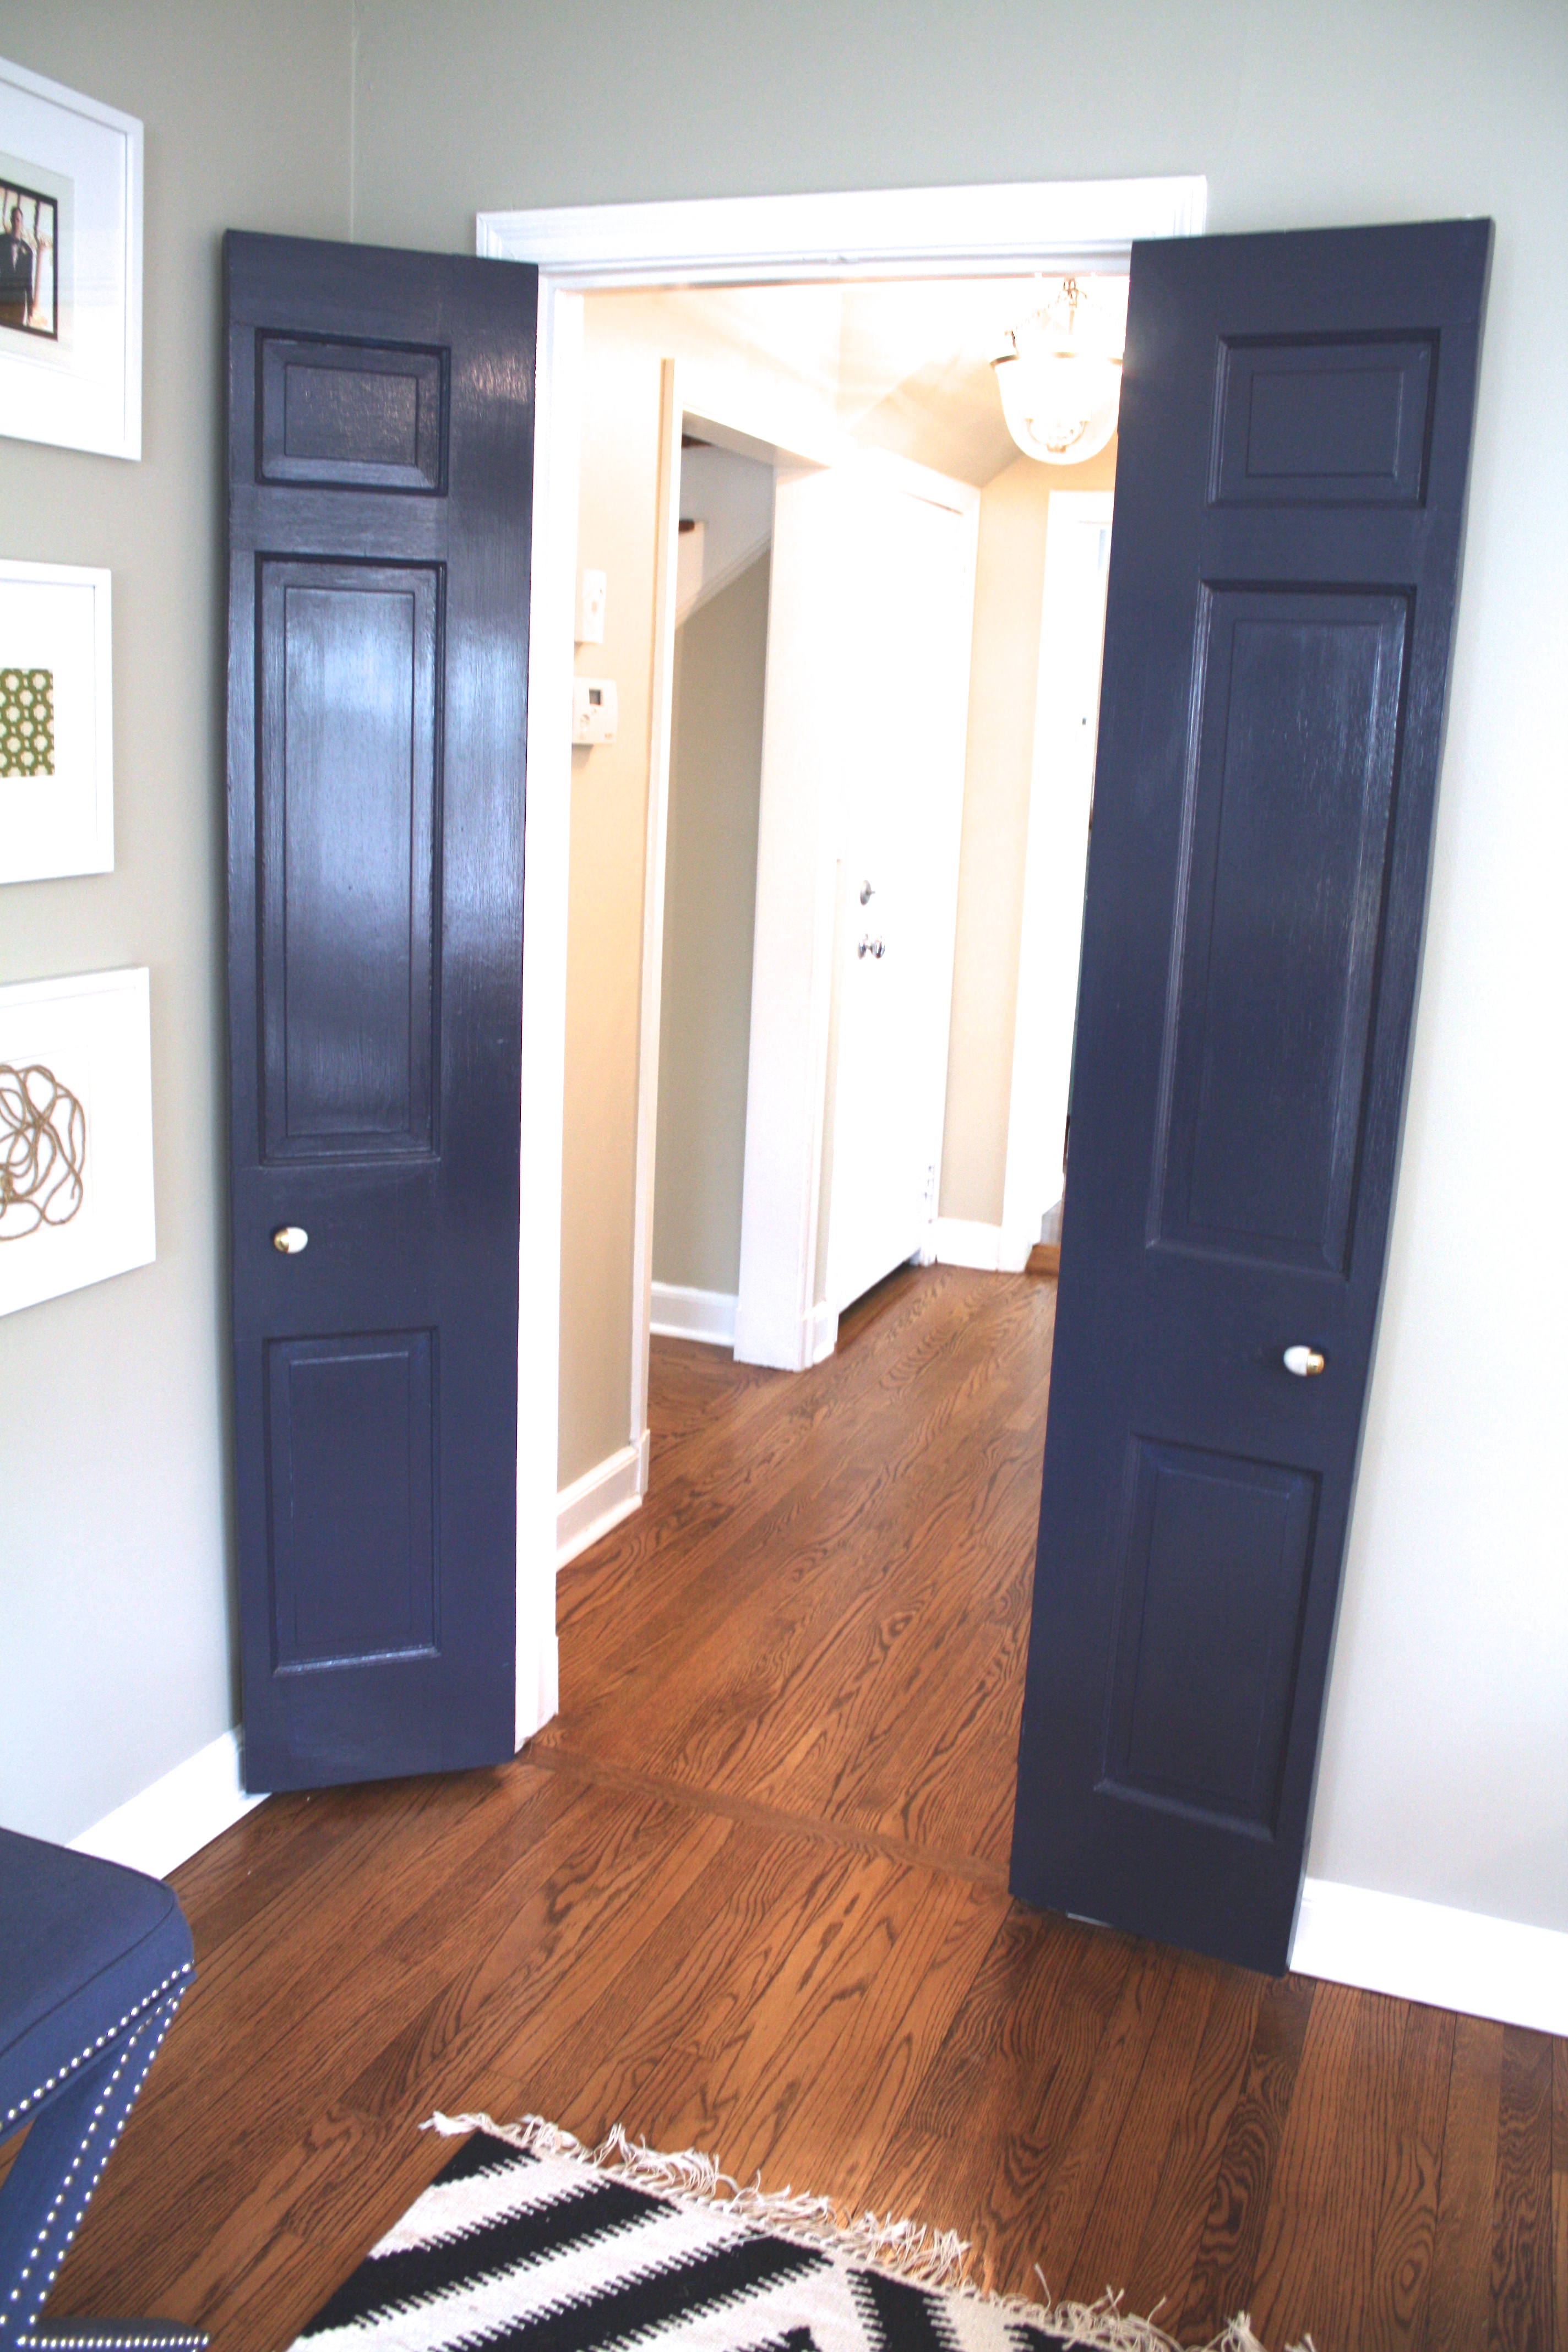
I painted the doors to my family room and they look AMAZING!
If you’re thinking about painting your own interior door (or doors!), you can read all about what tools and materials I suggest you use, and what colors to pick, in Part 1 of “How to Paint Your Interior Doors…The Easy Way.”
Today, I’m going to cover Part 2,
“How To Actually Paint The Door”
As it turns out, if you have raised panels on your door, there’s a right way to paint it.
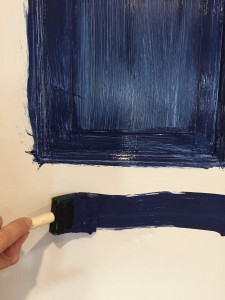
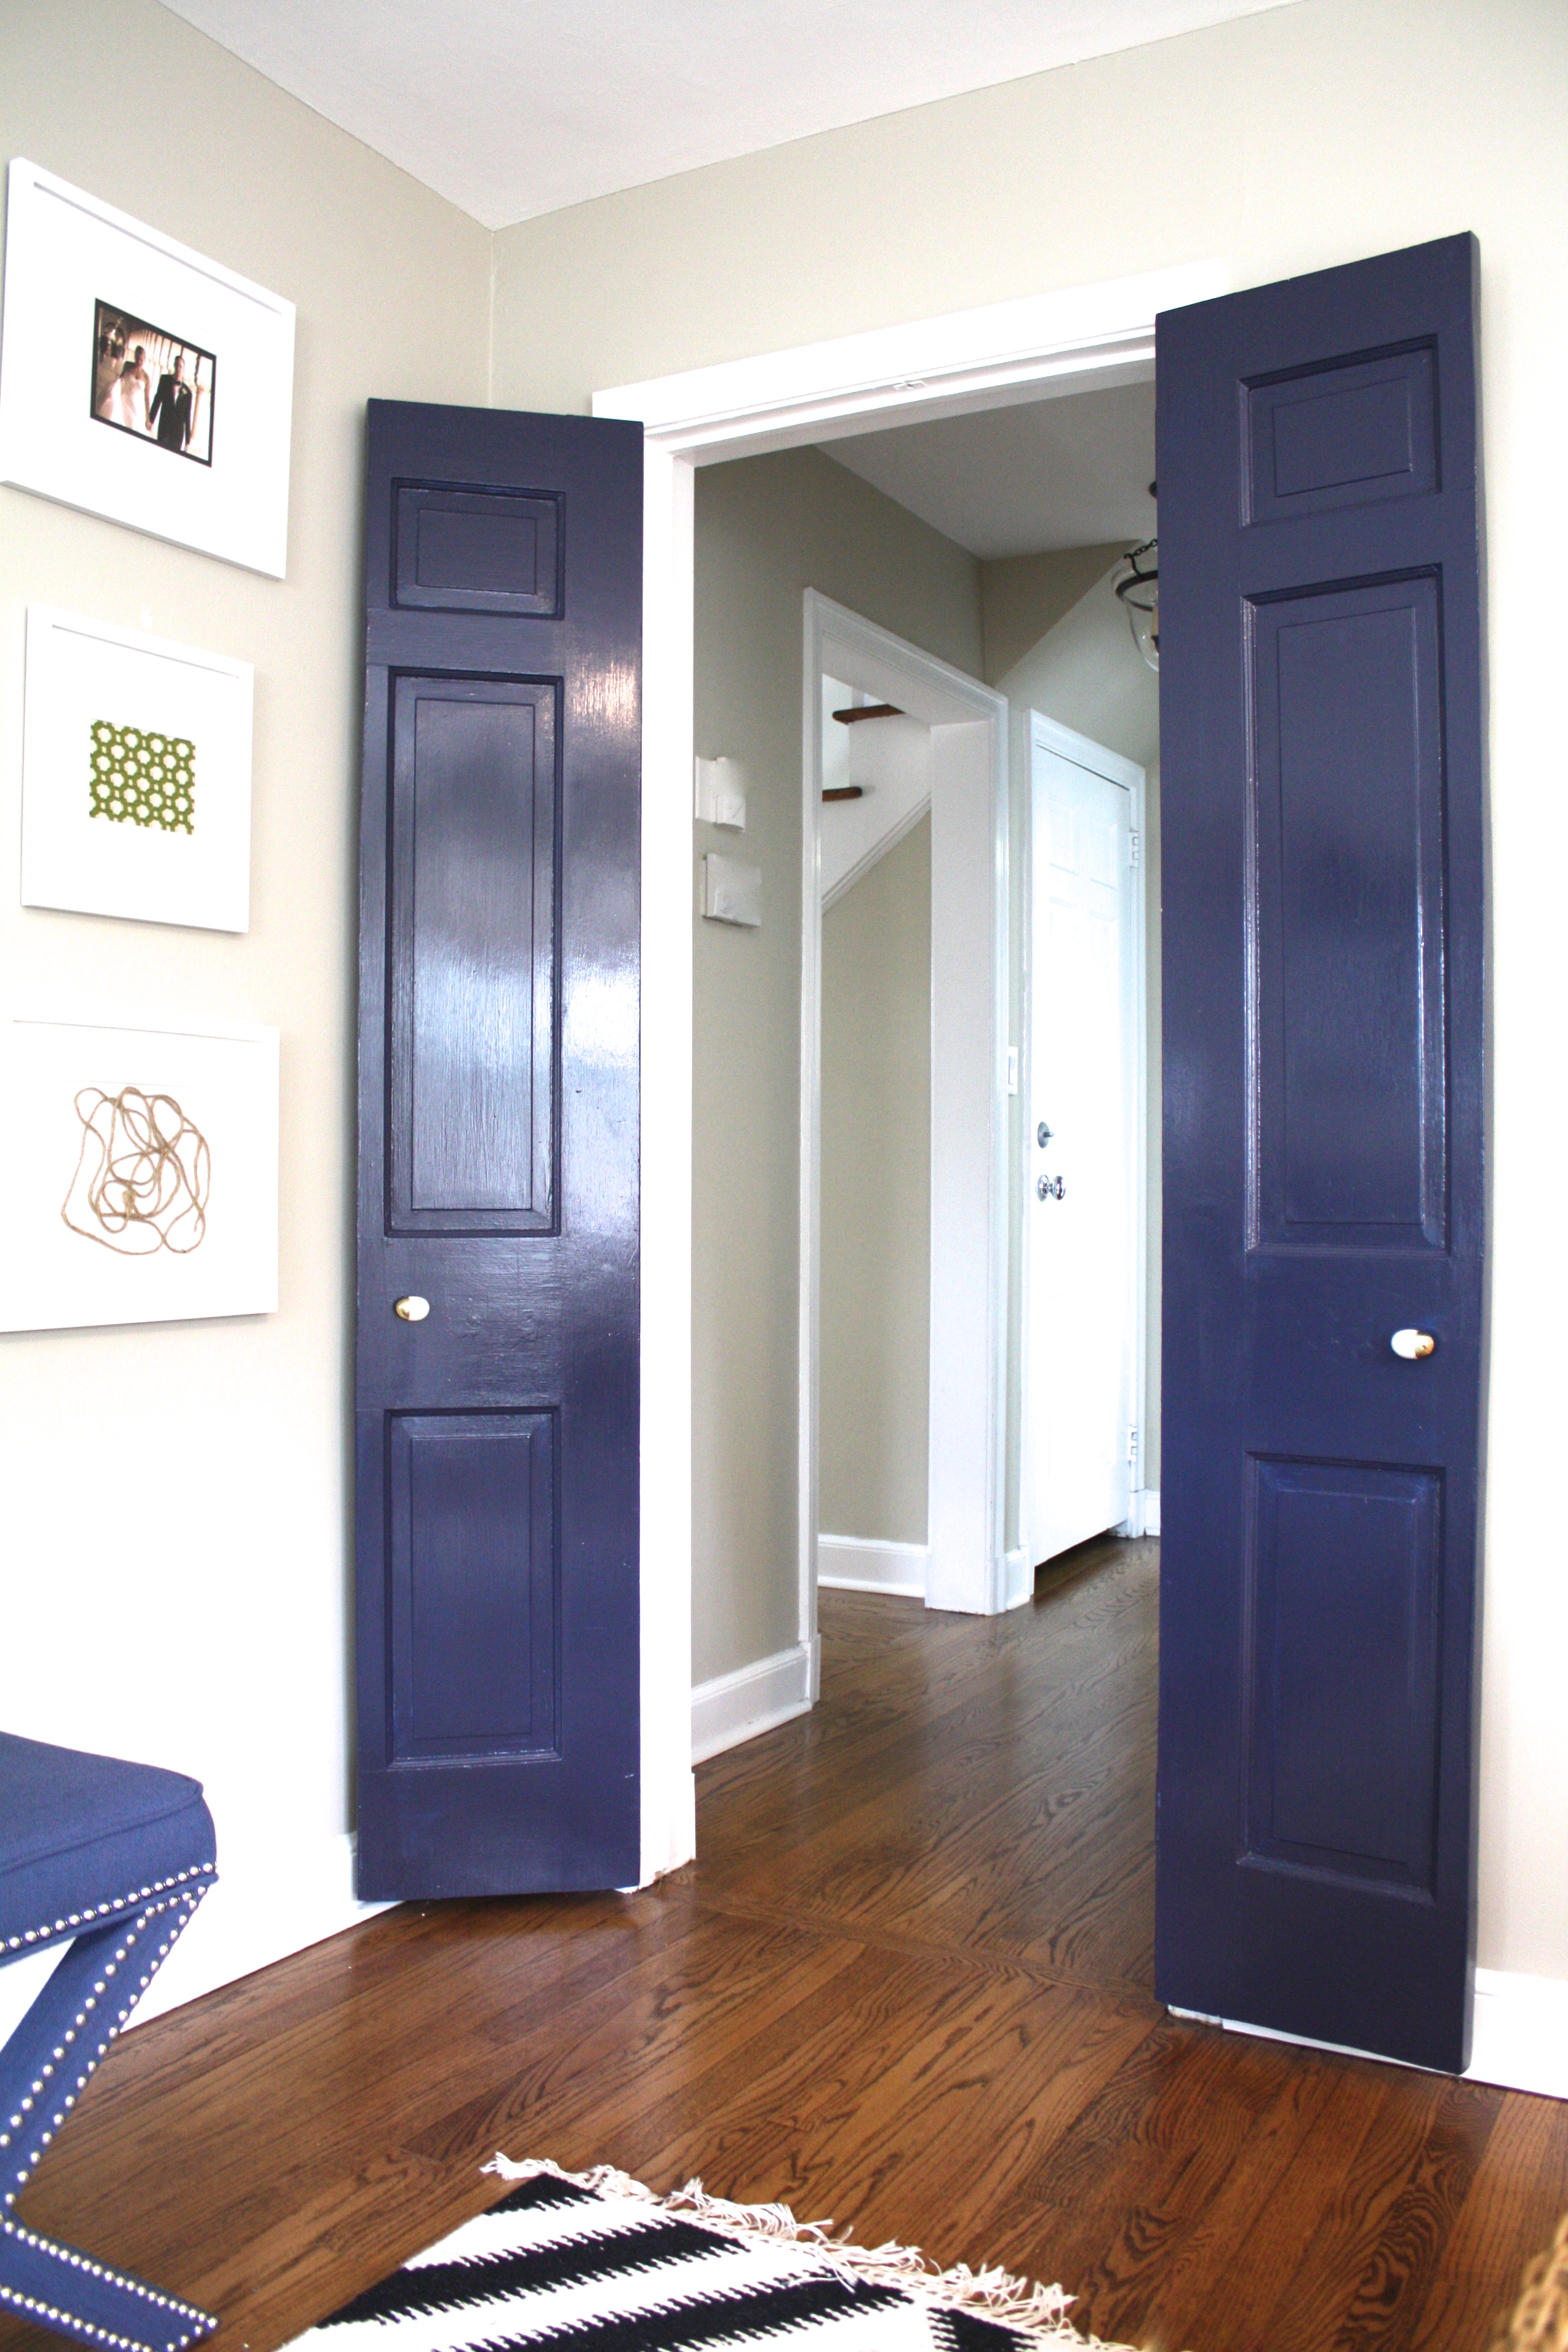 Oh geez. This is really happening. No going back now!
1) Paint the middle of each panel first – the flat part.
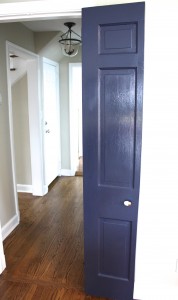
See how my door has three raised panels on it? You want to paint those middle parts first. Start by painting the middle of each raised panel (my favorite part, because they are flat and easy to paint).
2) Paint the insides of each panel so the entire square is now covered.
After painting that flat middle part, you need to cover the beveled part of the panel as well. You can see a glimpse of what I mean here:
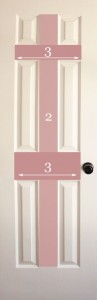
3) Now paint the flat surfaces surrounding the panels.
I absolutely love this graphic from Pretty Handy Girl. After painting your panels (Step 1) she’s showing you in this picture to paint the flat cris-crosses as Steps 2 and 3.
And go WITH the wood grain, not against it.
4) Let dry. Then repeat!
I’d say three or even four coats should do the trick.
You could theoretically paint your paneled door willy nilly. I have to say, when I started following this process (Raised panels first! Then beveled part of panels! Finally the flat cris-crosses!), my painting looked remarkably better and dare I say even professional.
This project was so easy and successful that I’m basically eyeing every door in the house. I’ll let you know which one is next…
Sarah's Book Shelves
March 26, 2015 at 8:42 AMWow – you’re amazing! I never would have attempted this!! How did you keep all your little ones hand prints out of the wet paint?!
Nora Molina
April 4, 2016 at 10:37 PMHi, Lorri! What color is that blue paint? I love it!
Lorri Dyner
April 5, 2016 at 7:04 AMThanks, Nora! It’s Old Navy by Benjamin Moore. You can read about it here: http://lorridynerdesign.com/how-to-paint-your-interior-doors-the-easy-way-and-my-new-magazine-column/