Got Rope? 3 Easy Steps to a Rope Lamp
Dear readers – as you know, I’m all about the “Lazy DIY”: projects that don’t require a ton of talent, time or money.
You can’t get more “lazy DIY” than my “DIY Rope Lamp”! It’s one of the easiest (and least expensive) DIY projects to try yourself and the result is really gratifying. Ready?
This is what you’ll need:
- A lamp
- 4-ply jute rope
- Basic craft or tacky glue
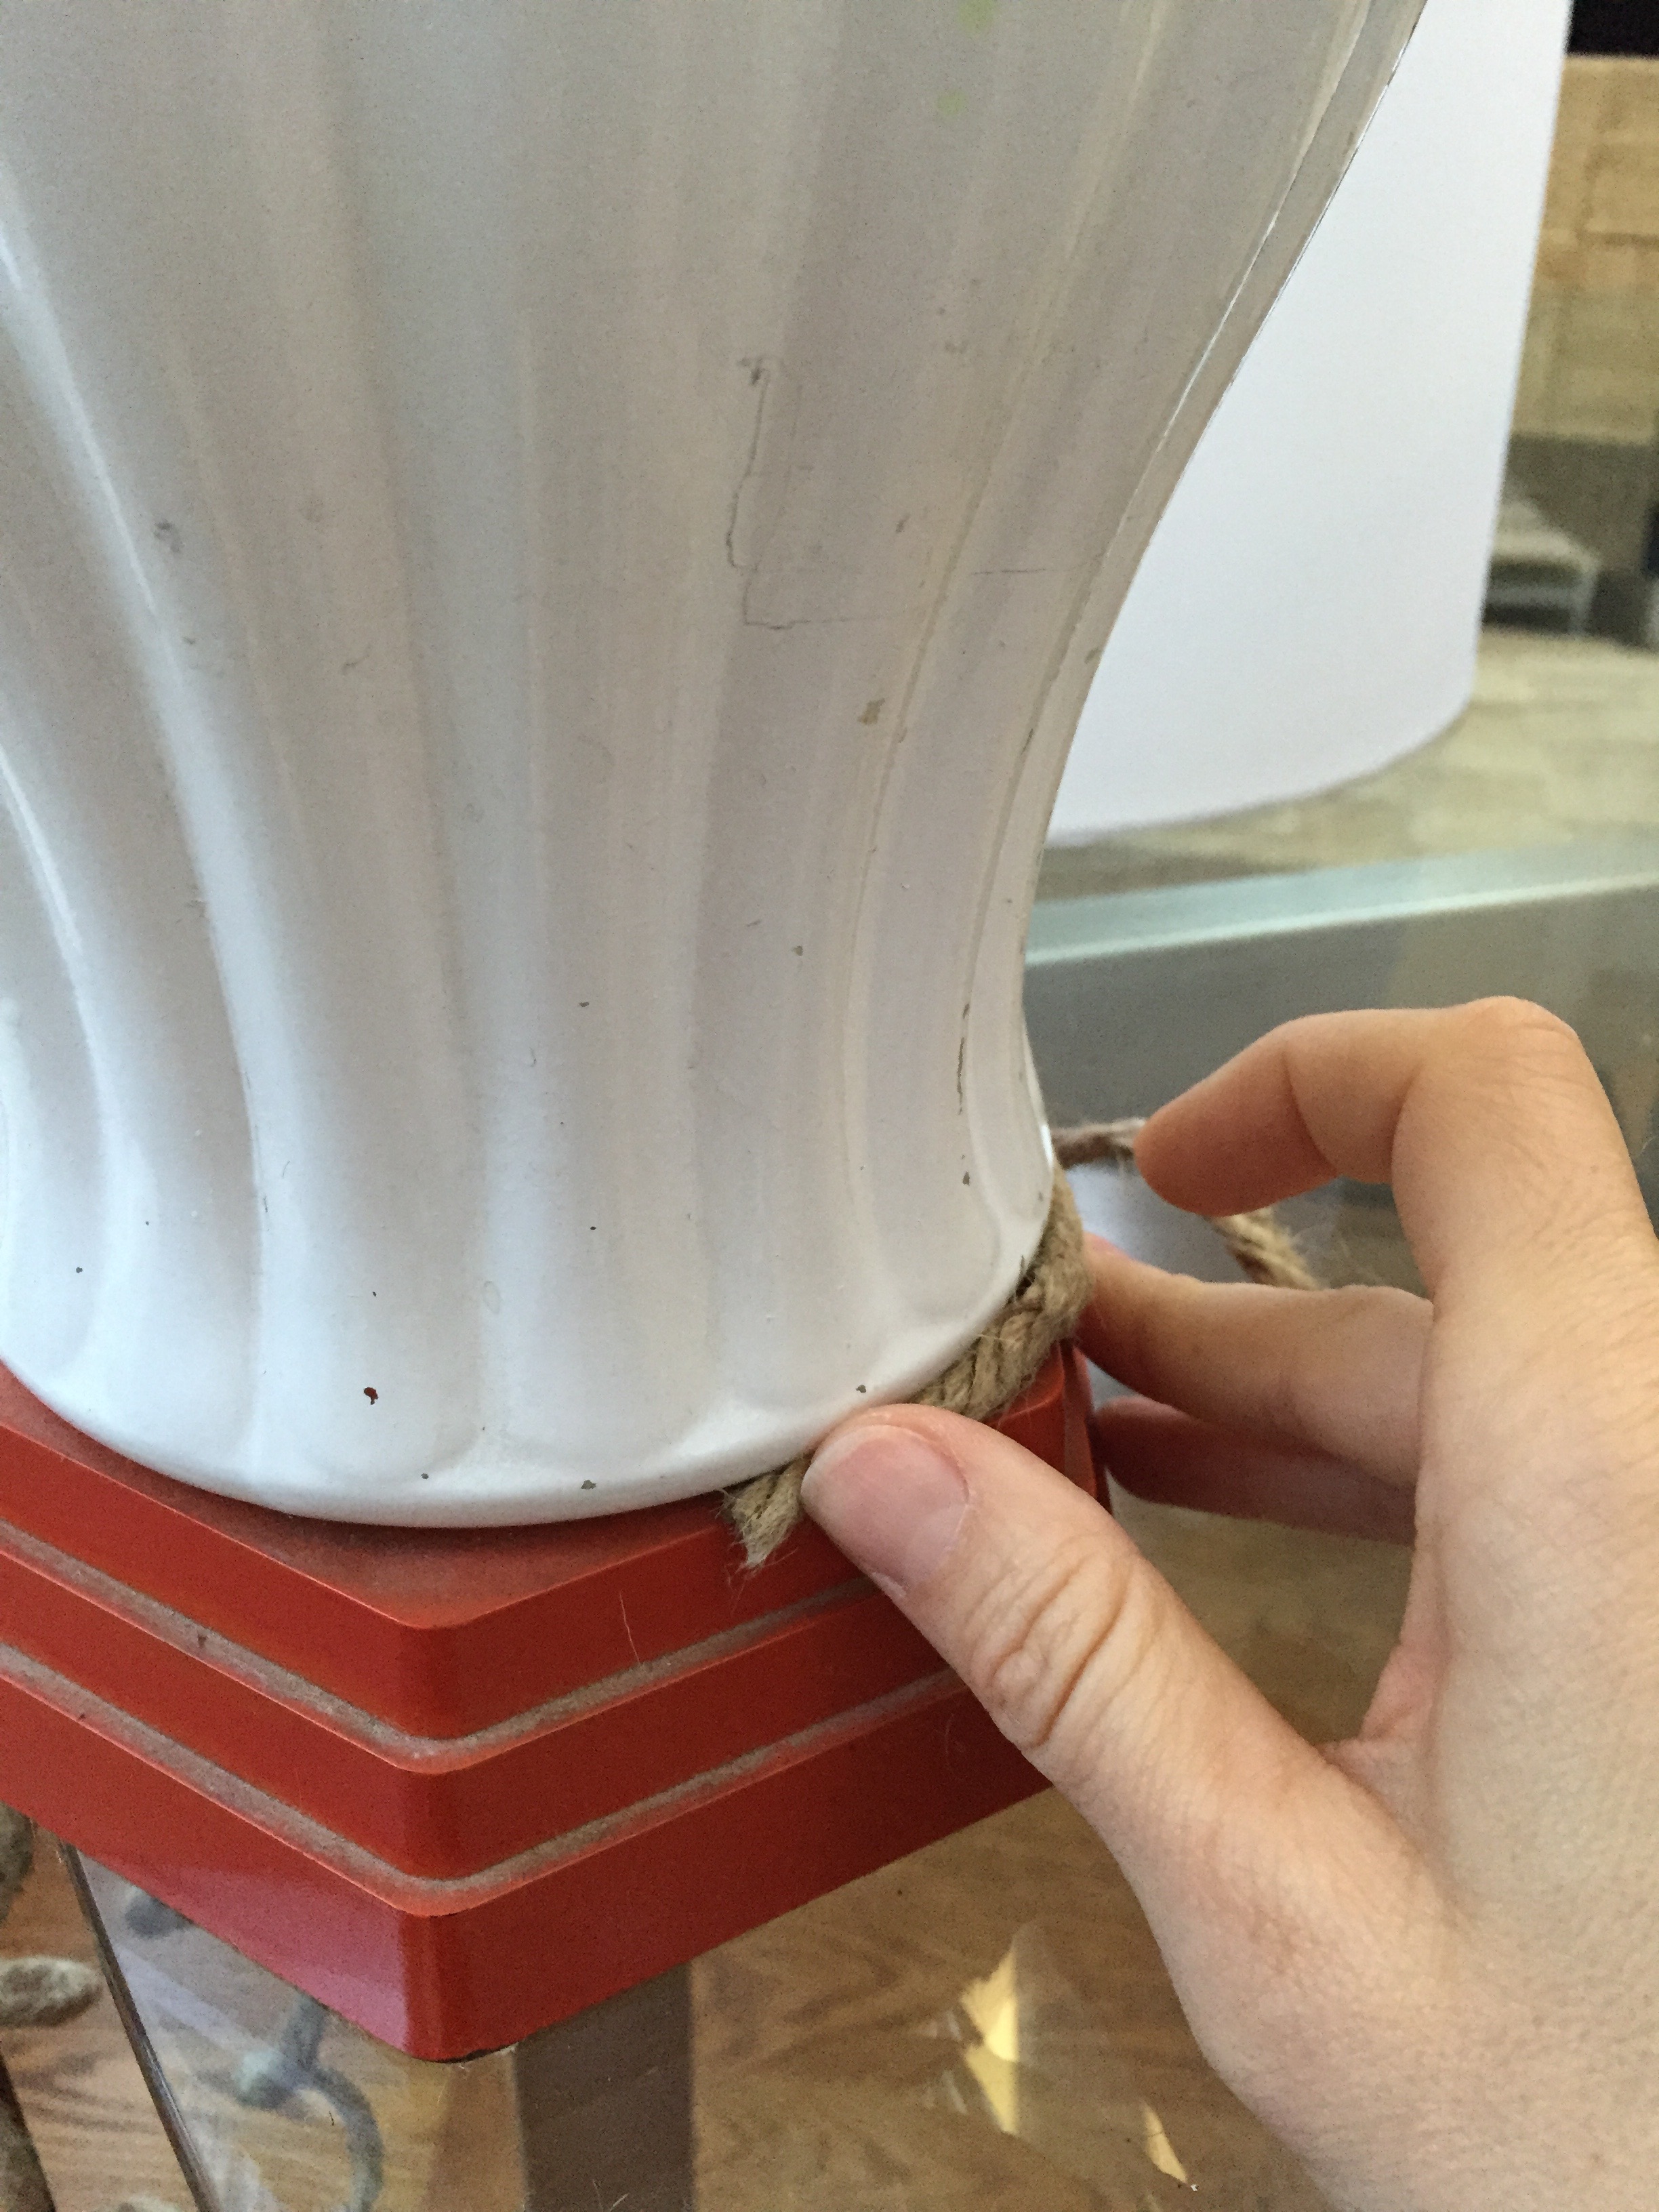
Step 1 – Start with a gross lamp
This is a $10 lamp I scored at a local thrift store. I liked that it had some curves. You really can wrap rope around ANY lamp, but I like lamps that have some structural curves – shows off the rope better.
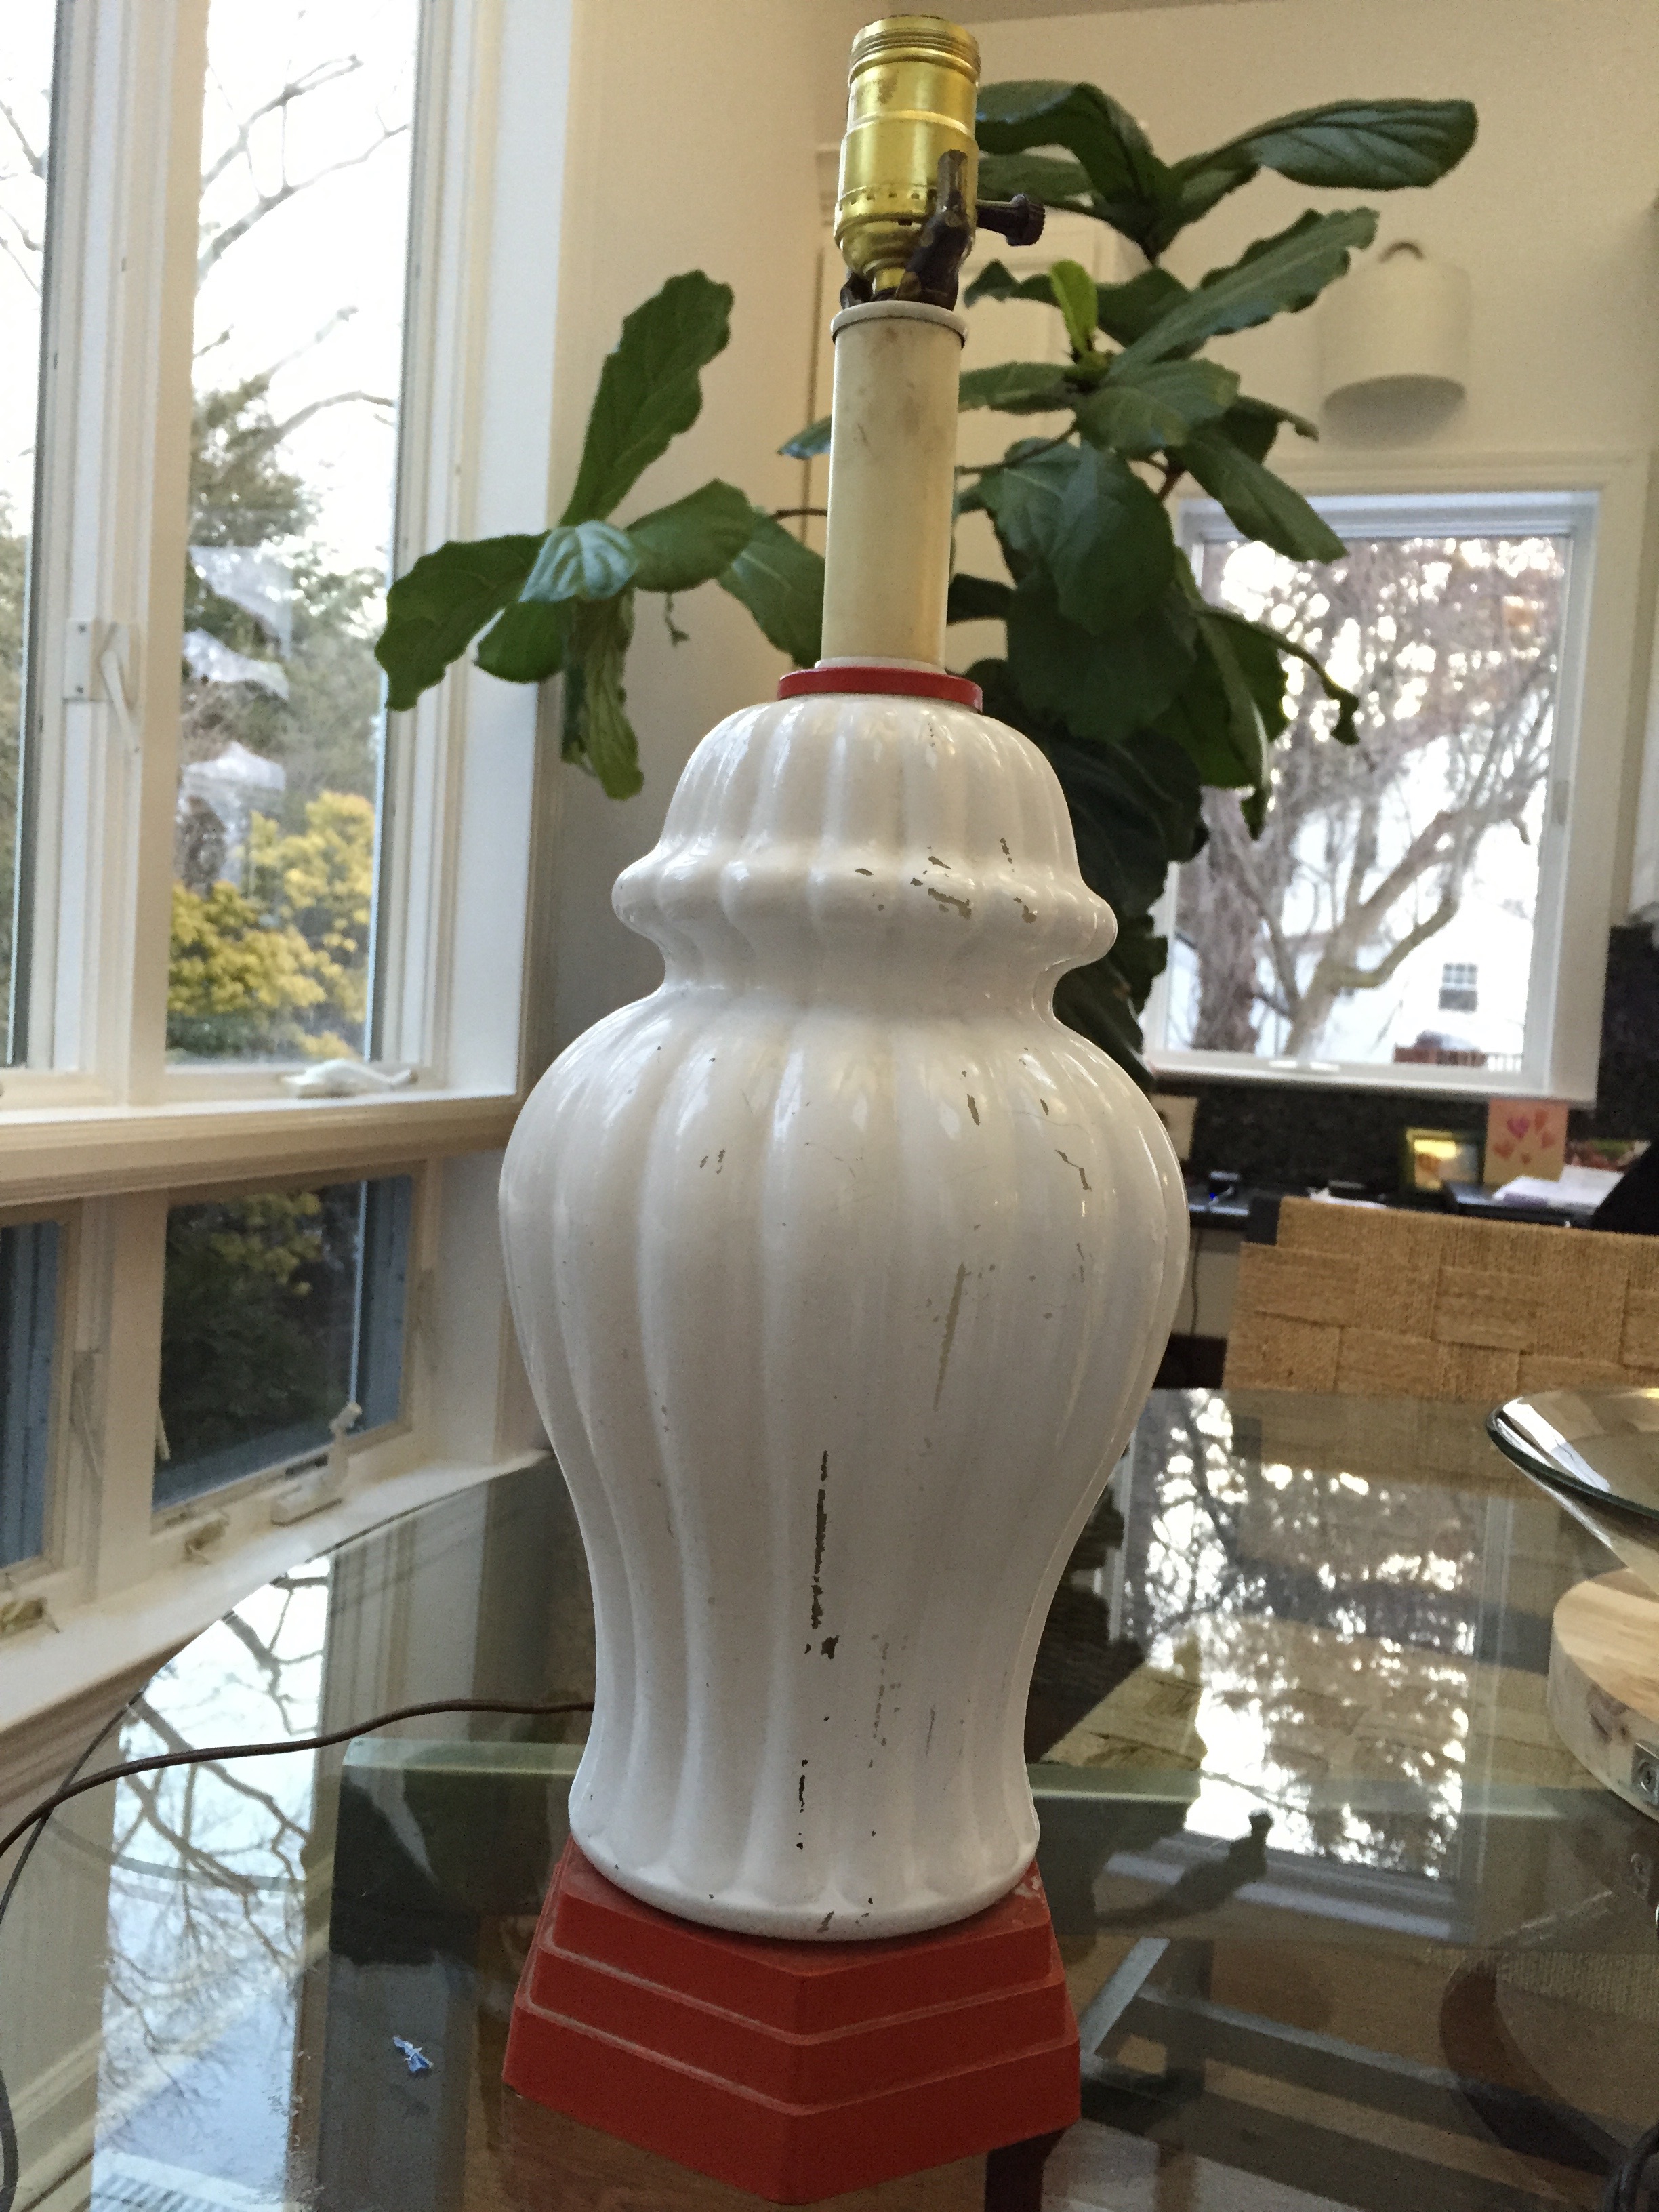
This lamp clearly had been sitting in a basement for 20 years. I didn’t even clean it before wrapping it in rope (this really does take us to a whole new level of “Lazy DIY”!)
Step 2 – Gather your jute rope and tacky glue
So here’s the glue I used (it’s basic tacky glue. I found it at Michael’s and you can also try Amazon.com, Joann Fabrics, etc). And I found the jute rope at my local hardware store. I LOVE jute rope – it is such a great color and texture and it’s so inexpensive you won’t believe it. Like $3 for 135 feet.
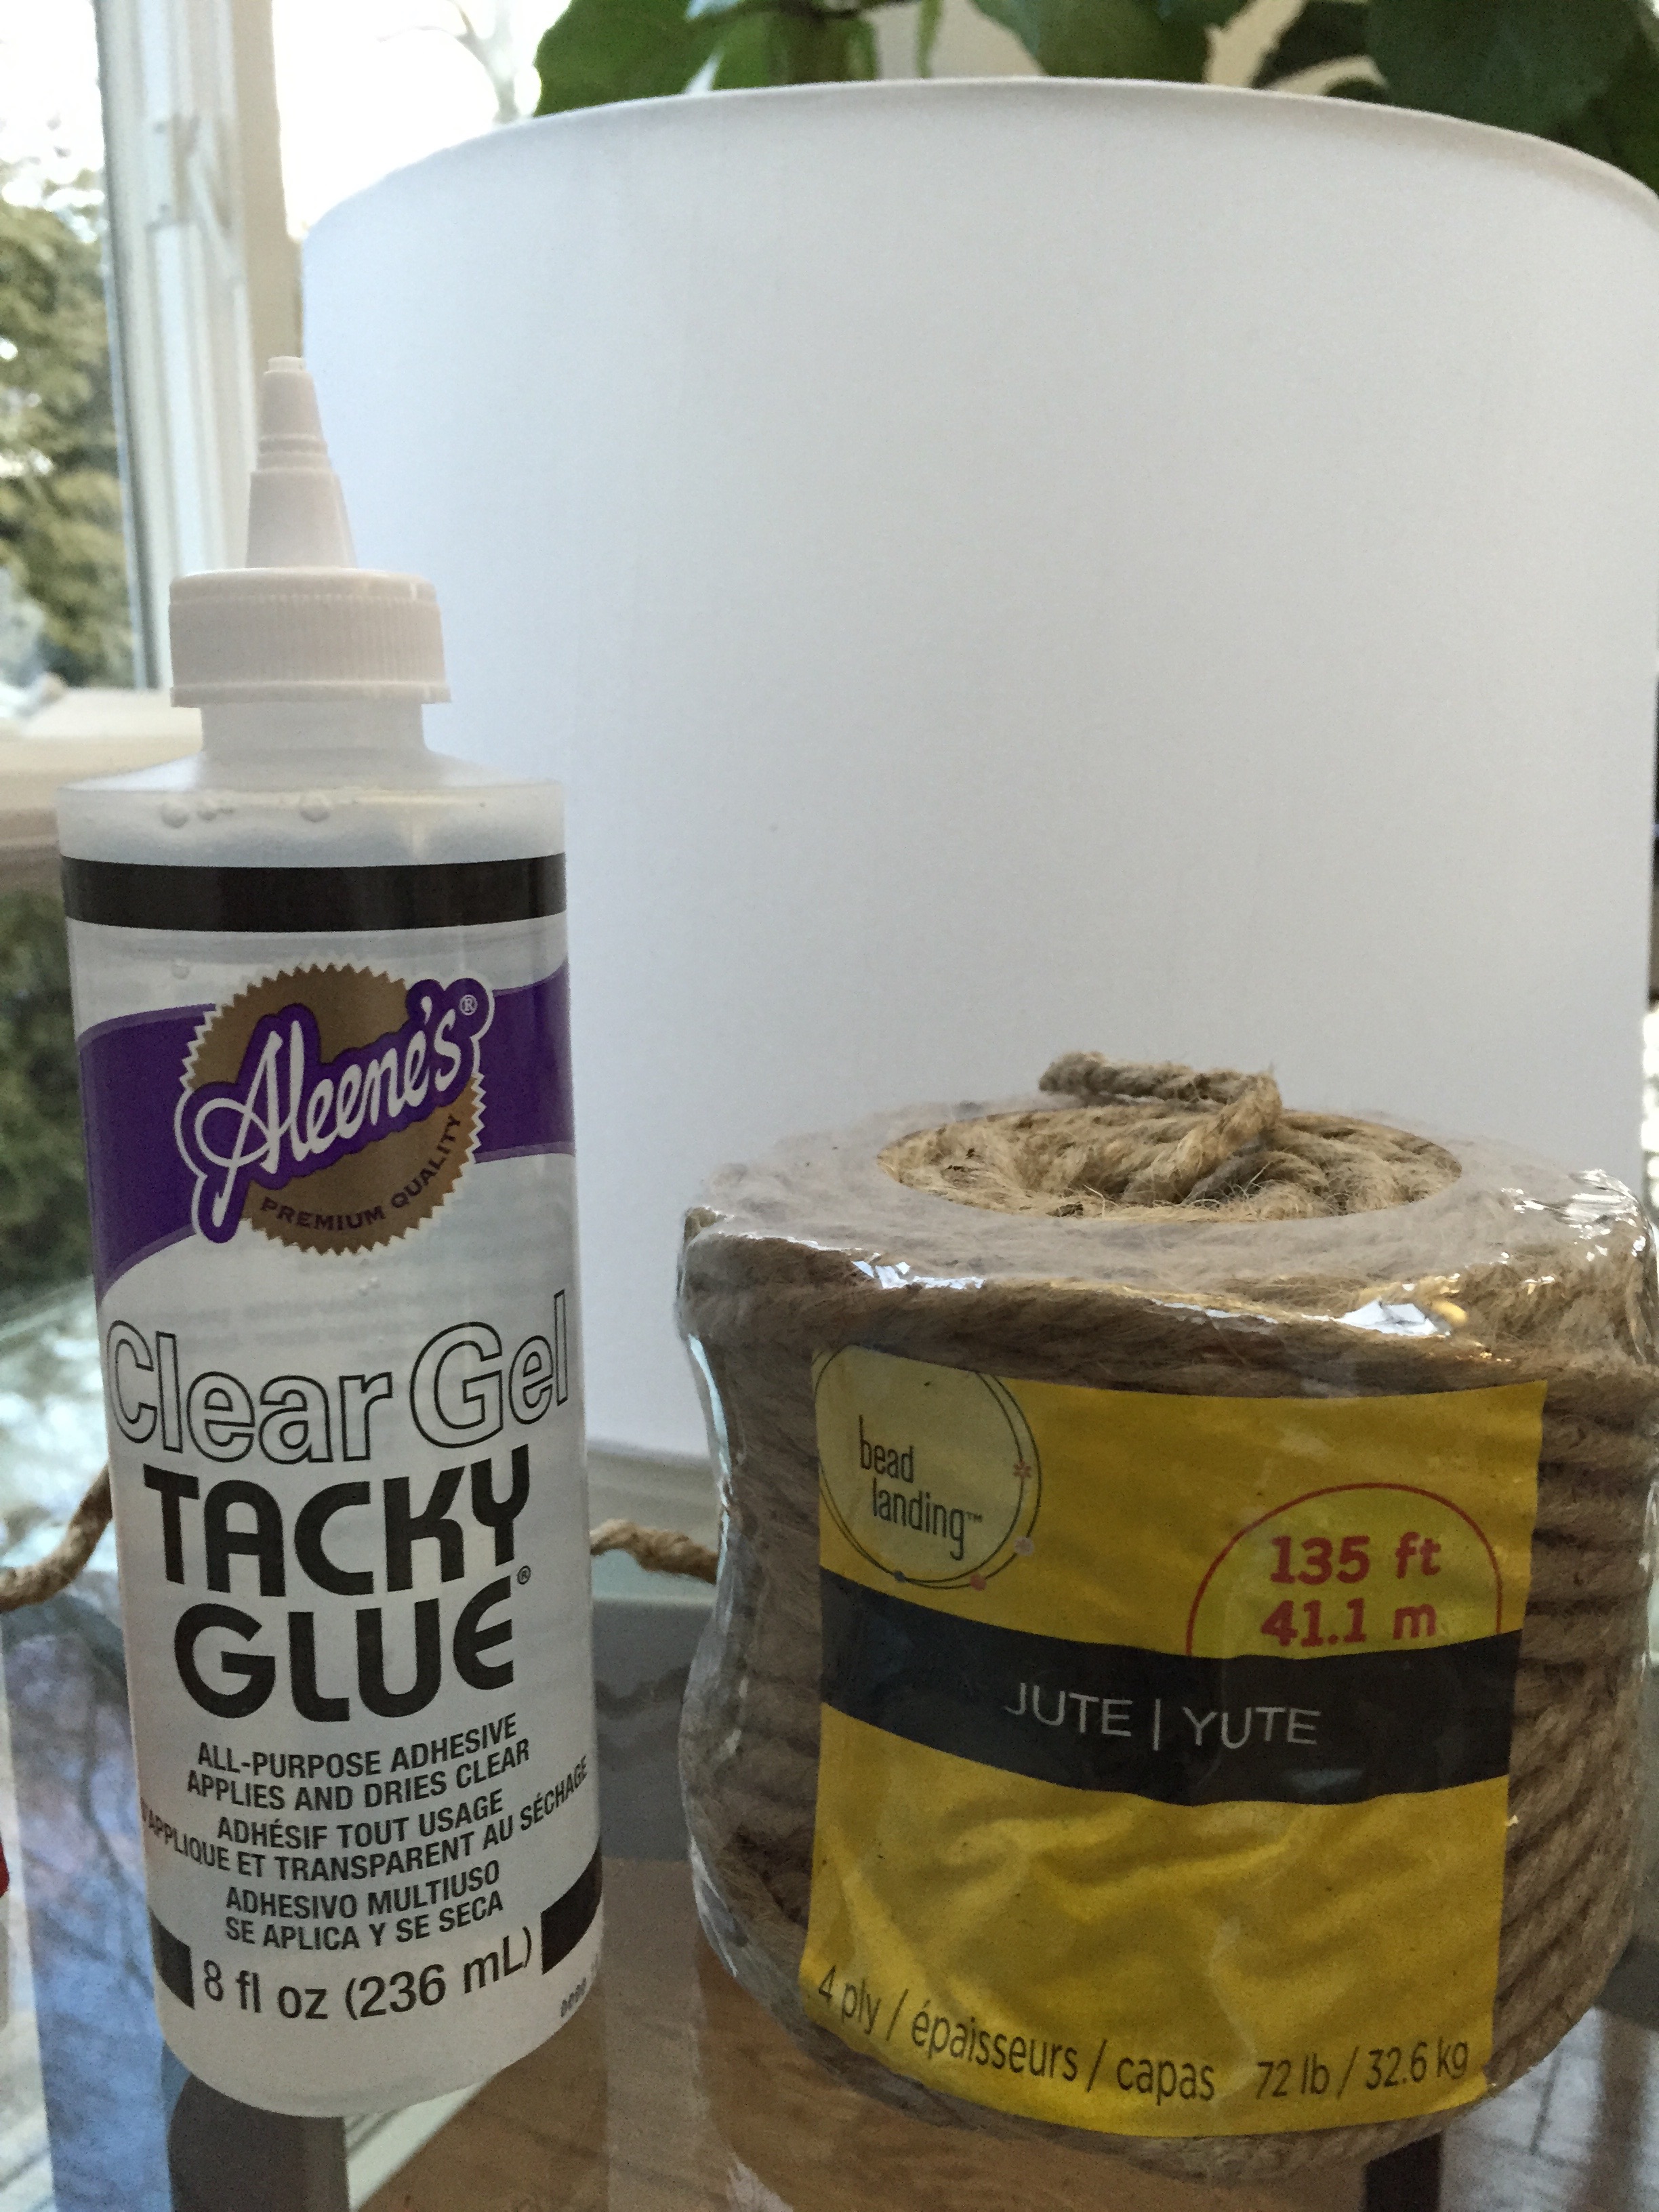
A word about rope thickness: I got 4-ply rope because I simply like the thickness of it. But if you like the look of a skinnier rope, you can totally go for a 2 or 3-ply.
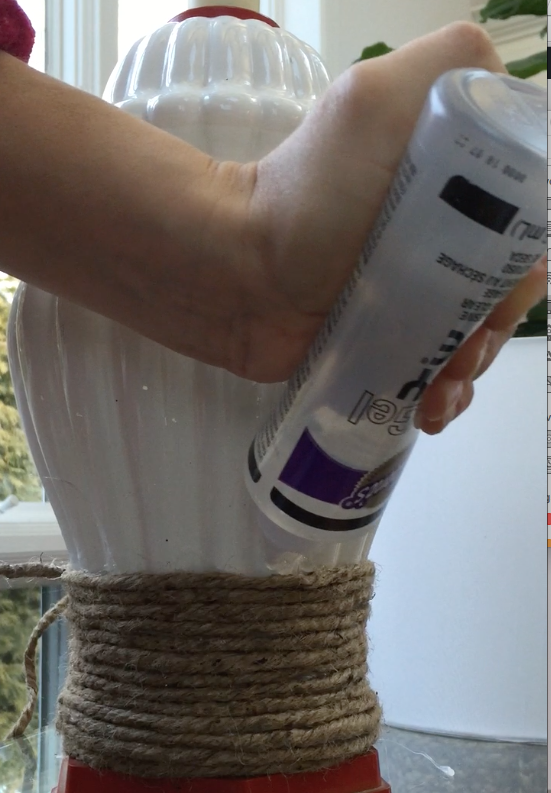
Step 3 – Wrap Rope around Lamp and secure it with glue.
You can start at the very base of the lamp and work your way up. (In this case, because the red part looked “difficult” and the white looked easy, I just started with the white and went back later to the red!).
Secure the end of that rope with a bunch of glue.
Then squeeze a thin line of glue once around the lamp, and follow with the rope. You then just repeat and repeat – thin line of glue, follow with the rope. It’s so easy I literally watched Real Housewives on Bravo while I was doing this.
Bonus Tip #1 –
Hold the rope in place for a minute as you go, so the glue dries slightly and keeps the rope tight and secure:
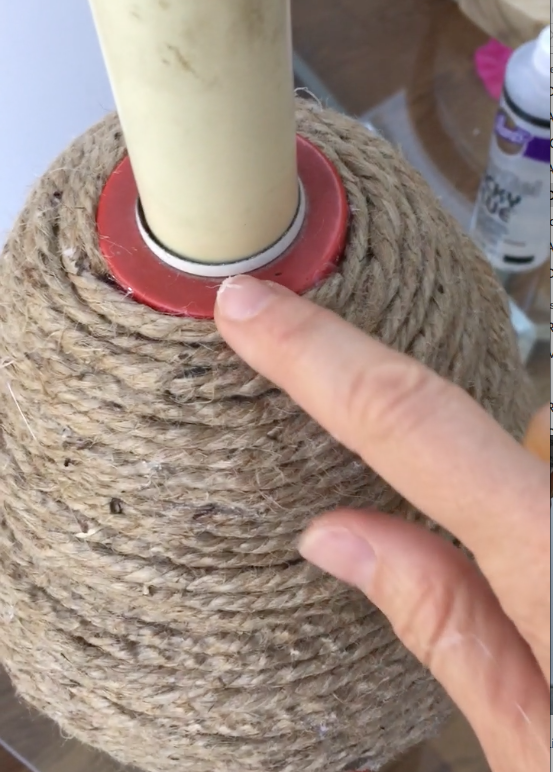
Bonus Tip #2 –
what to do with the rope ends? I wish I had a more clear shot of this, but you basically just tuck the rope end under the rope itself and it all blends together.
Below, you can see the end of the rope just to the right of my index finger. I just tucked it in and squeezed more glue in there for good measure. You can barely see it!
Bonus Tip #3 –
Don’t skimp on the glue! I’m telling you, I squeezed glue all over the place and it oozed out everywhere between the pieces of rope and you can’t even see it.
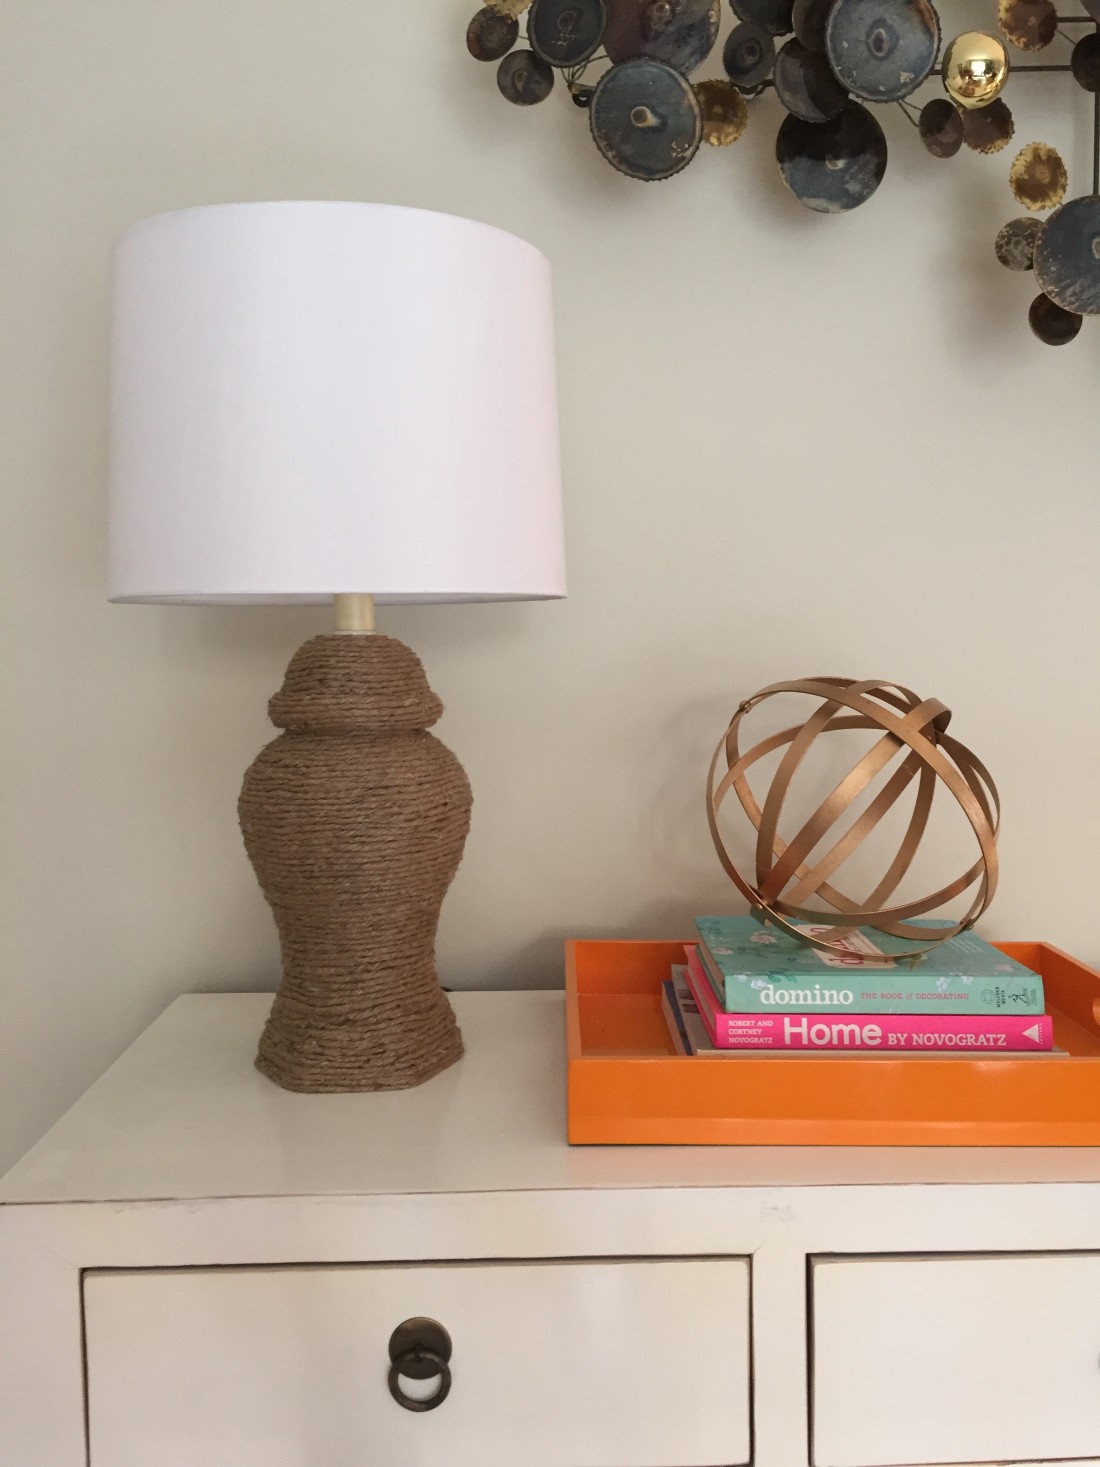
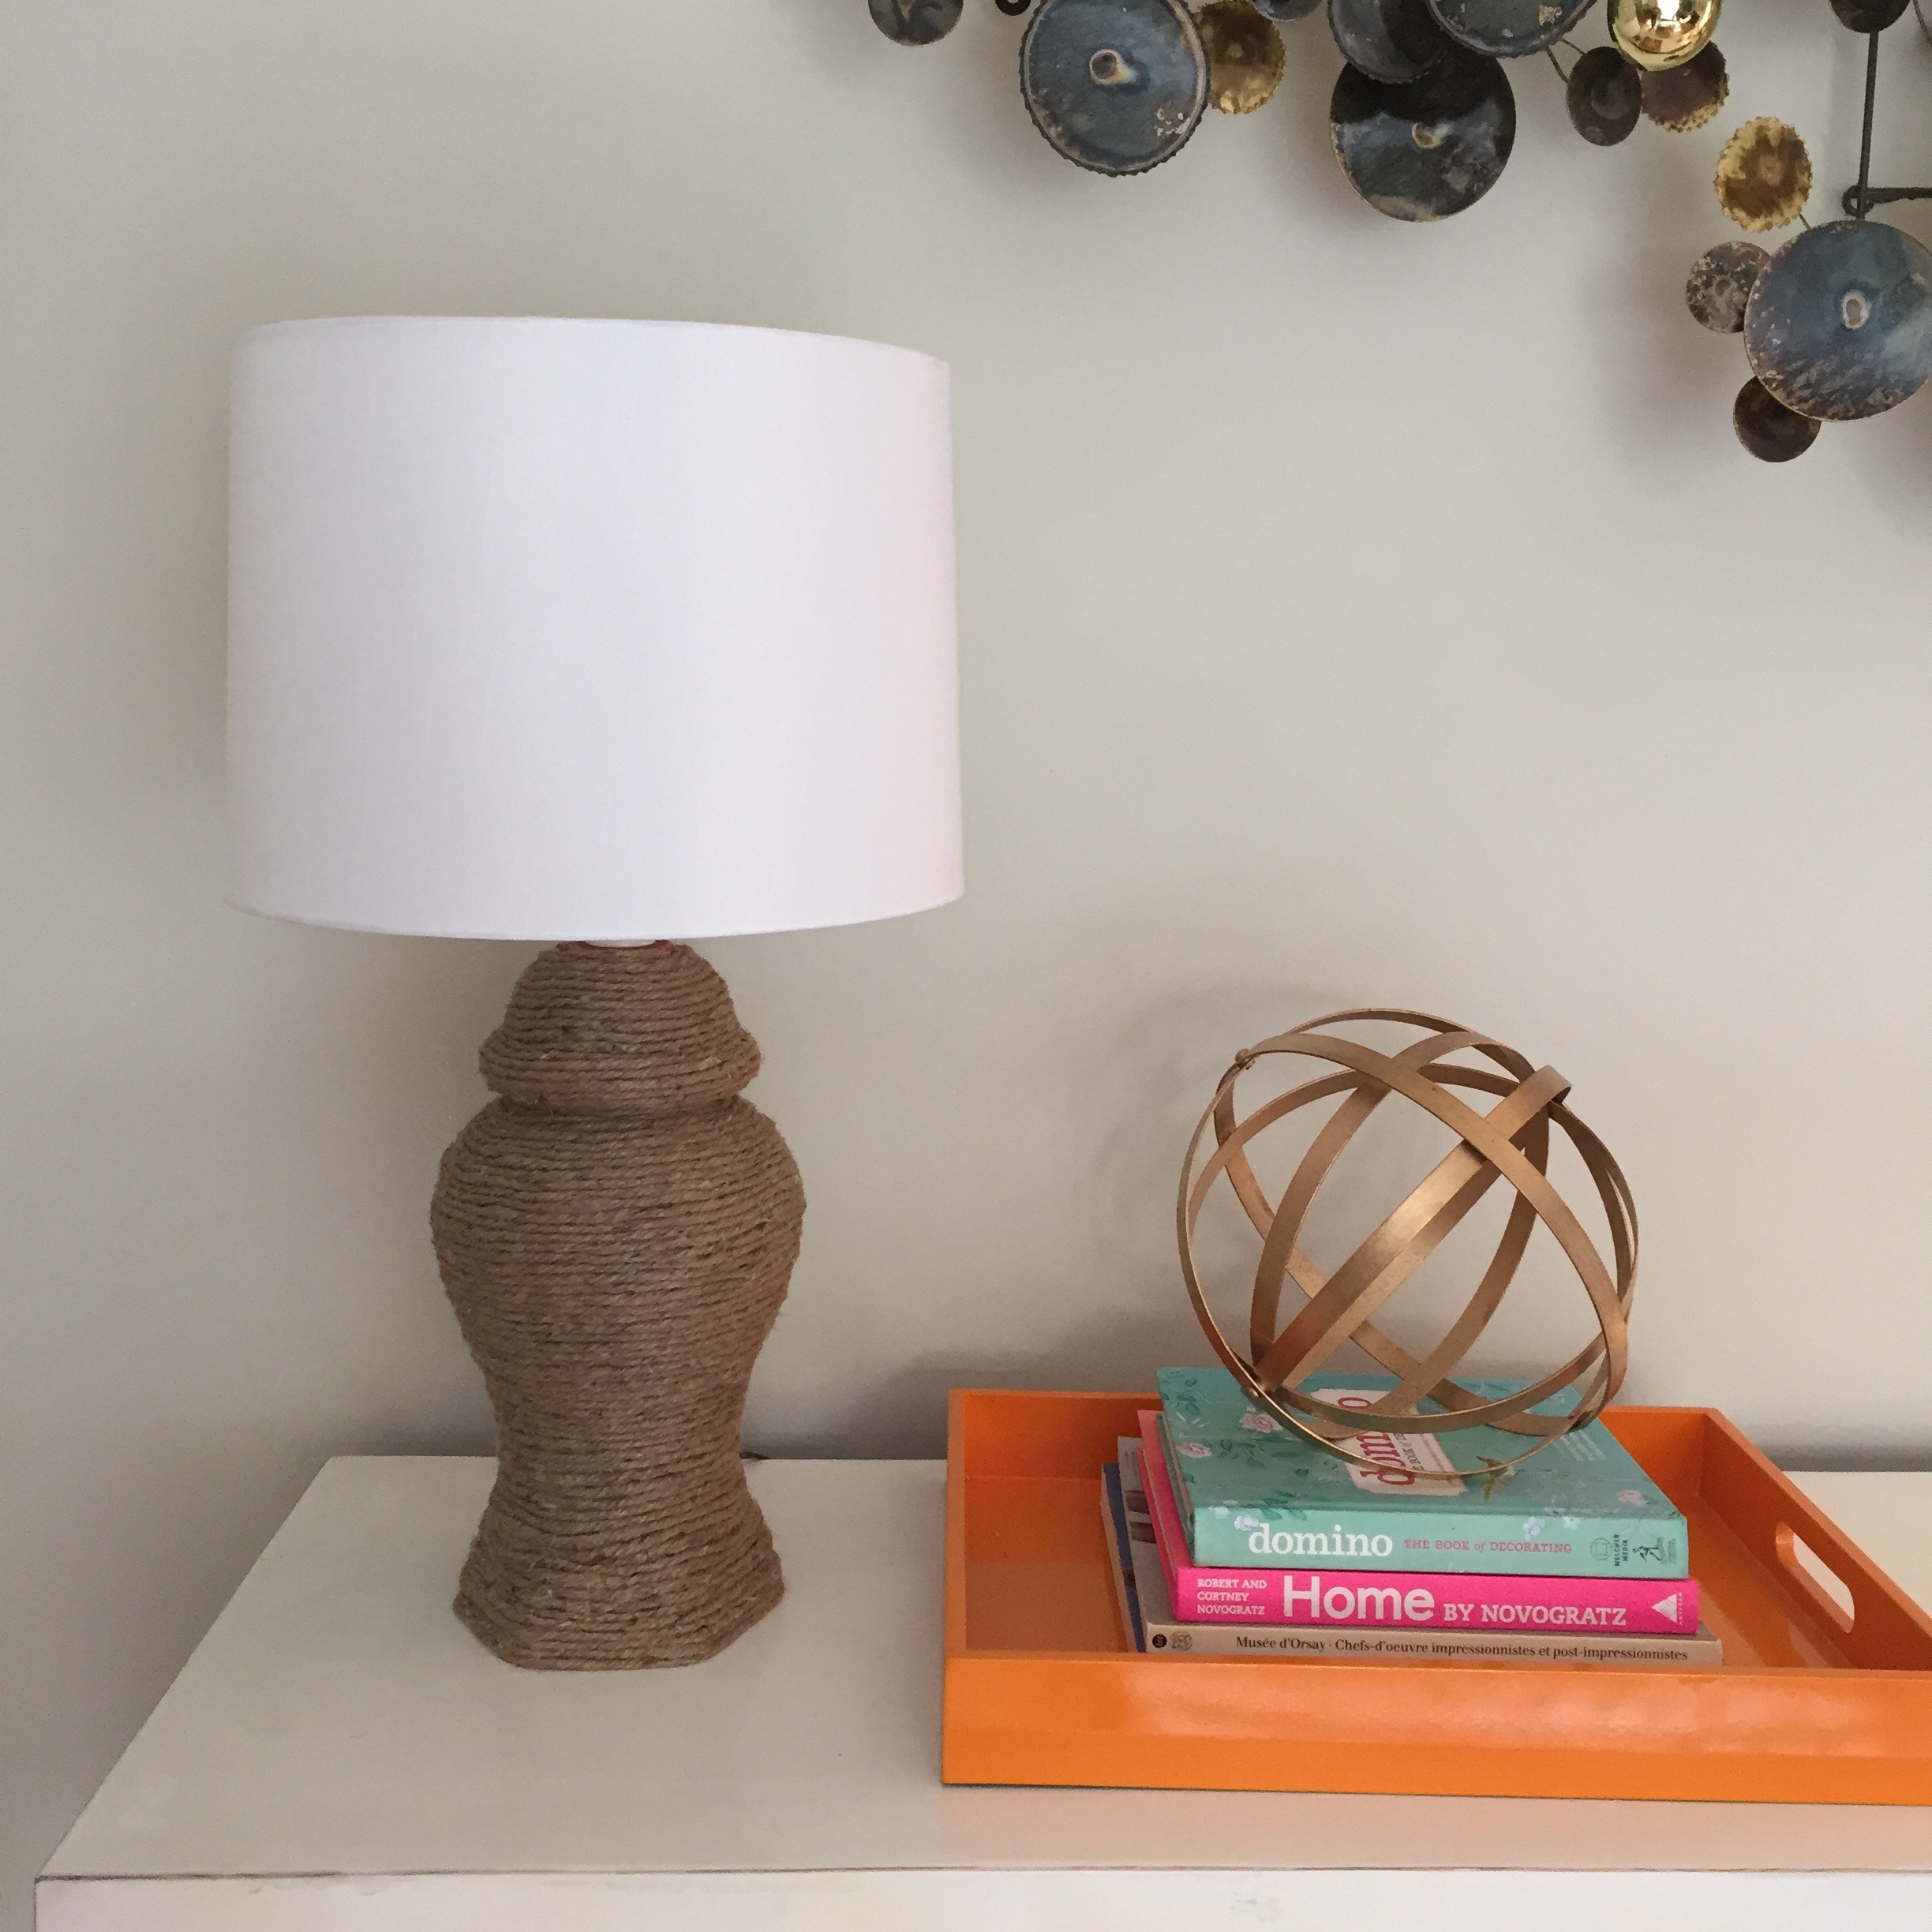
So there you have it. Super easy and quick to complete, and it costs so little money.
I love how rope brings pretty color and texture into a room. Perfection!
No Comments